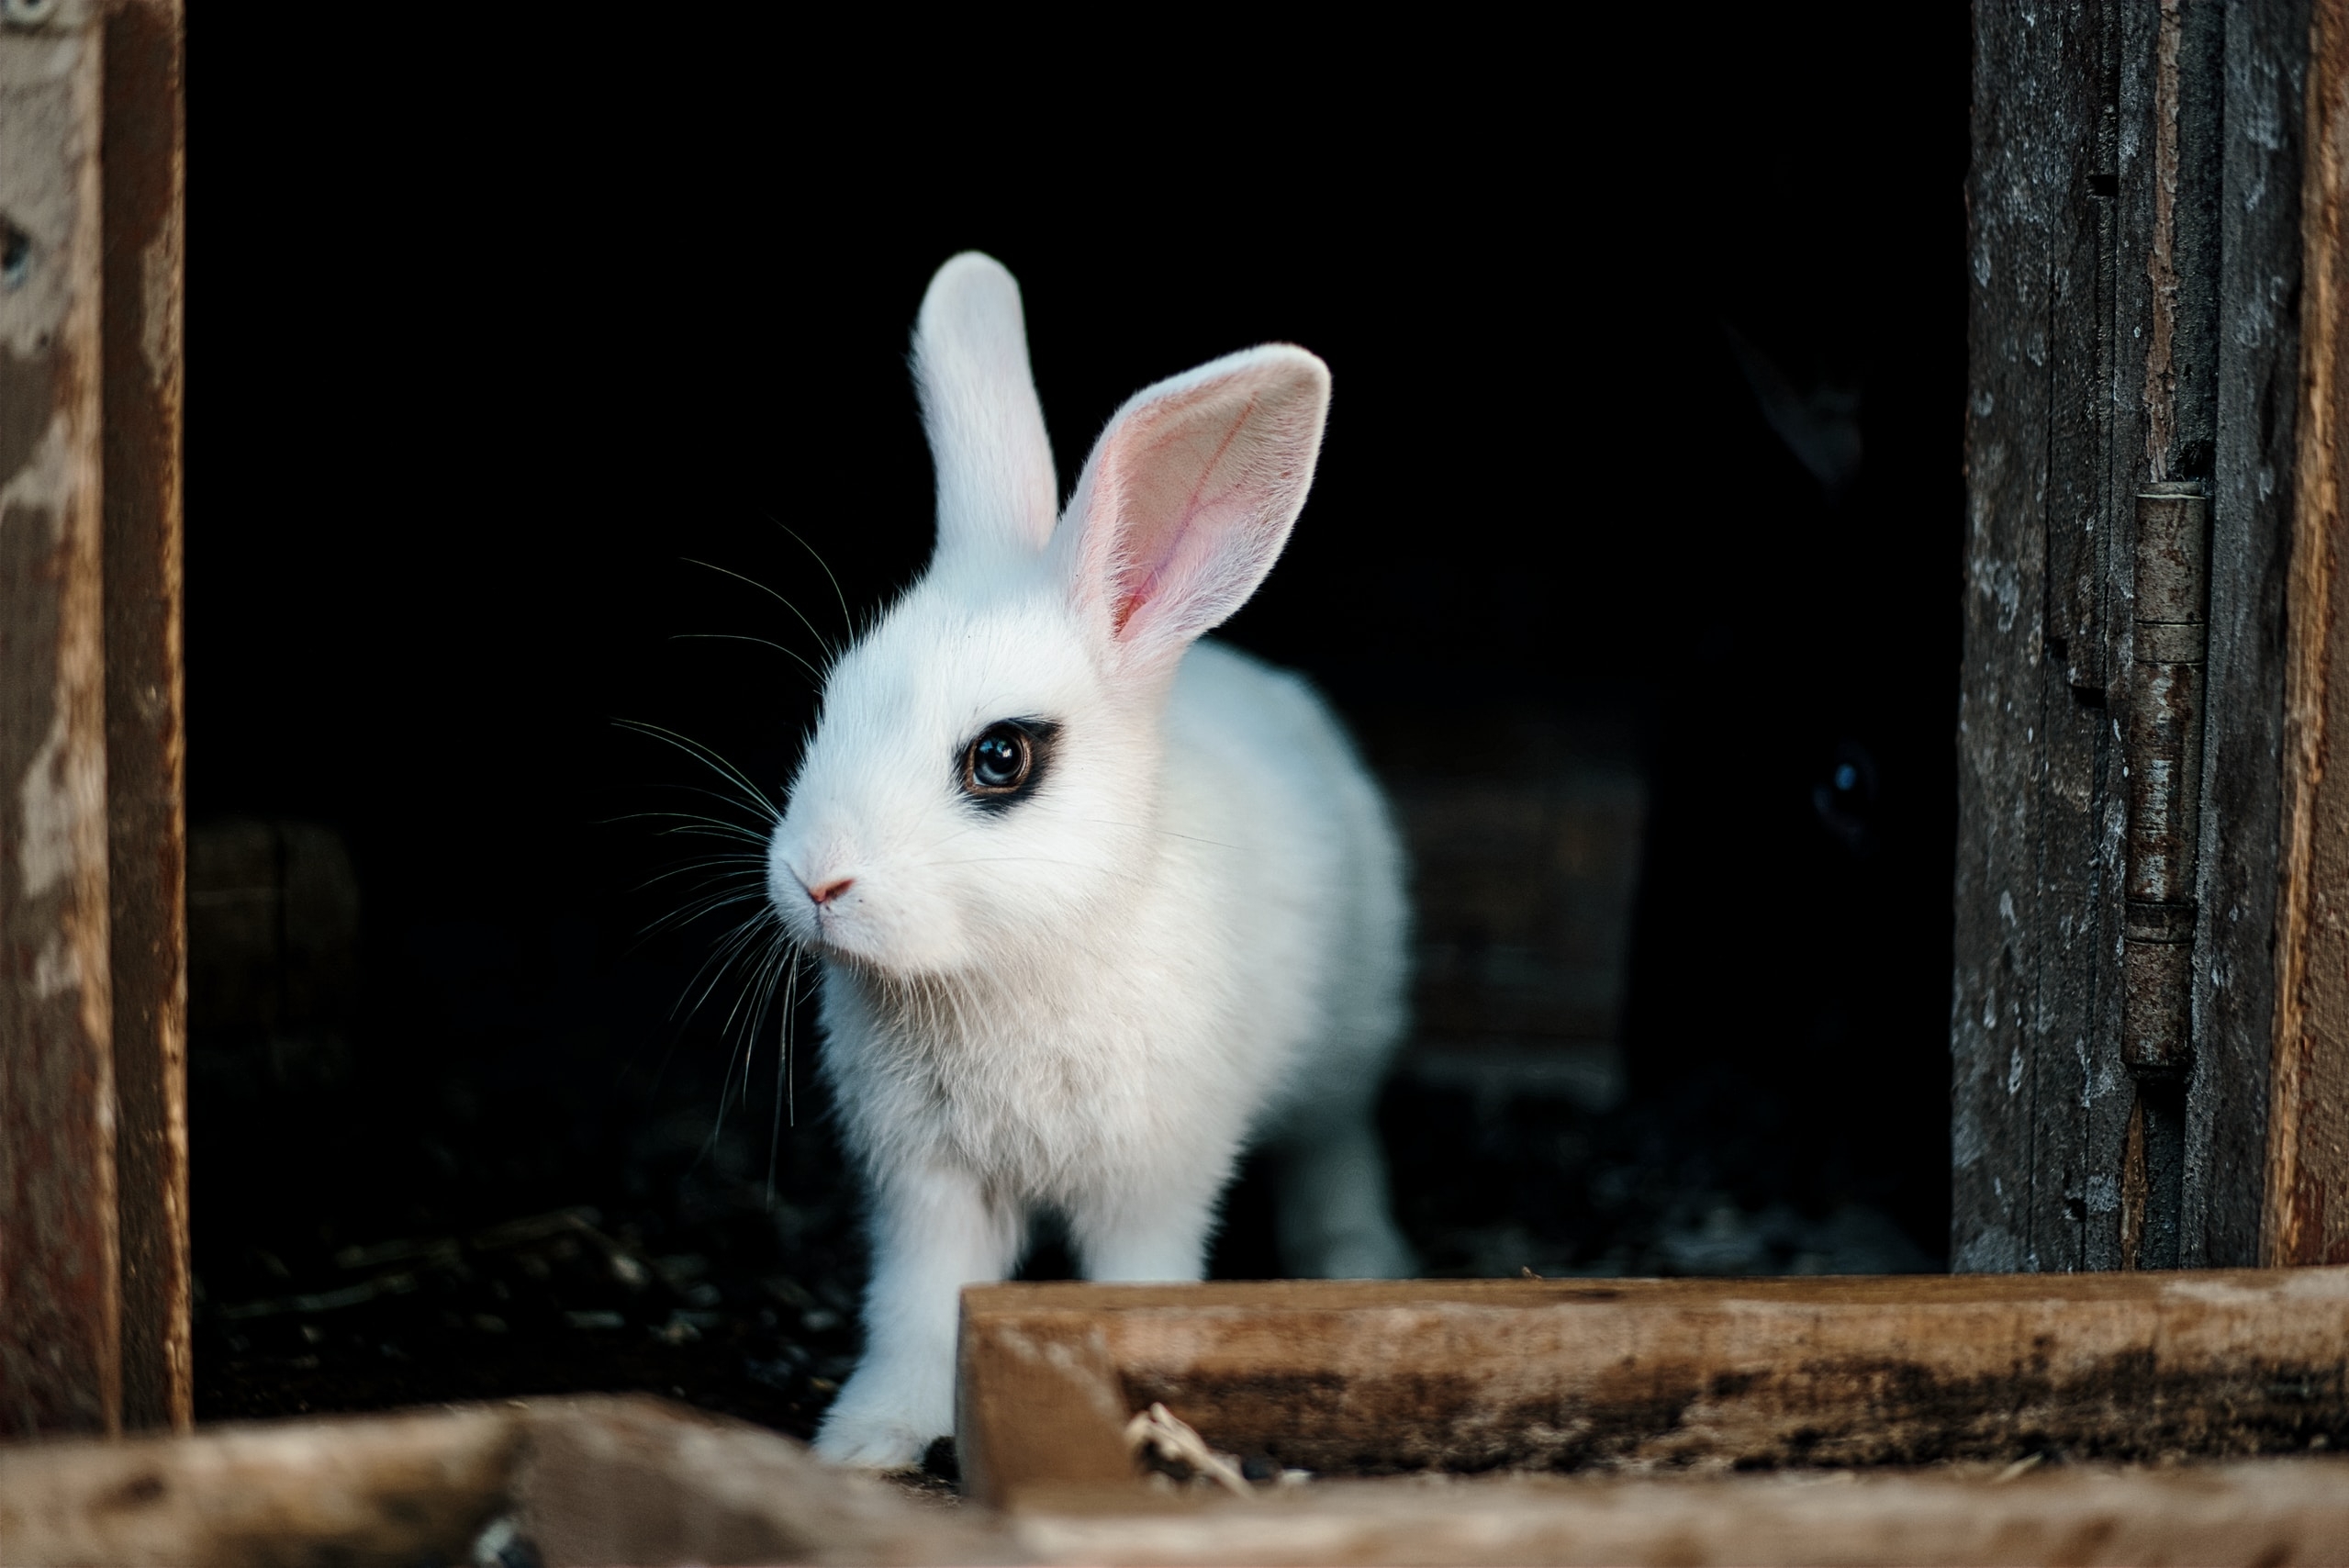
Cleaning Your Pet's Ears


A regular grooming routine is a must for our animal companions. Besides keeping your pet looking and feeling the best way possible, grooming your pet regularly allows you to get familiar with his or her body so that should anything out of the ordinary be noticed, you can seek help immediately without wondering if your pet was always this way. It also provides you with a great human-animal bonding experience.
Brushing, bathing, nail trimming, and dental care are all a part of an essential grooming regimen. However, there is another part of essential grooming that often gets left out, and that is ear cleaning. It can seem like a daunting task to clean your pet’s ears, but it is often a necessity.
To help make ear cleaning easier, we’ve provided a few tips on how to clean your pet’s ears safely and effectively without stressing out your beloved pet.
INSPECT
Check your pet’s ears regularly. If you notice any of the following, it may be time to contact your vet.
- Odor
- Redness
- Swelling
- Tenderness
- Discharge
- Scabs
- Excess wax
- Scratching, head shaking, or head tilting.
OTHER CONSIDERATIONS
Not all dogs need their ears cleaned. For some, frequent cleaning may cause irritation and other problems. Speak with your veterinarian about what is best for you and your dog. Depending on your cat’s groom habits and environments, often ear cleaning is unnecessary. Cats are generally excellent self-groomers. However, if you notice any wax, dirt, build-up, or debris, it may be time for a cleaning. Trimming excessive ear hair can help prevent ear infections and wax build-up. Avoid sticking scissors into your pet’s ear. If you are uncomfortable doing it yourself, have a veterinarian or groomer take care of it for you Schedule regular veterinary exams so your vet can assess your pet’s health and diagnose any issues early. Your vet will check your pet’s ears and can help give you further instructions for cleaning and care.
HOW TO CLEAN YOUR PET’S EARS
If your pet can easily become restless or distressed, try to calm him or her with treats, affection, or another distraction. It is best to collect your supplies ahead of time so that you don’t have to scramble to find what you need during the cleaning. You will need cotton pads or balls, a veterinary-approved ear cleaner, and a towel. Do not use hydrogen peroxide or alcohol-based cleaners as they can dry out the ear canal and cause irritation. Do not use Q-Tips or anything with a pointed tip to clean your pet’s ears as you may damage the ear canal and cause other health problems for your pet.
It is generally easier for you to position your pet with his or her backside facing you. Gently pull on the ear flap and fill the canal with an approved-veterinarian ear cleaning solution. Do not stick the applicator into the ear canal or allow it to touch your pet’s ear as it may spread bacteria.
Massage the base of the ear for at least 30 seconds to help the solution work its way in. You will hear a squishing sound as the product dislodges debris and buildup. Allow your pet to shake his or her head and expel the solution. Use the cotton ball or towel to absorb any remaining solution on the outer part of the ear canal. Repeat until the cotton pad is clean.
Again, not all pets will need their ears cleaned frequently. Speak with your veterinarian to help you come up with an ear cleaning routine that works best for you and your pet. For more information on ear cleaning for your pet, please contact Country Club Animal Clinic today.
Contact Us

Want an Appointment Quickly?
Get an appointment in just a call.
Address/Hours
Hours
- Monday to Friday
- Saturday
- Sunday
- 8:00 AM to 6:00 PM
- 8:00 AM to 2:00 PM
- Closed
We are taking all precautions against COVID-19